

Two boxes will be included in your delivery containing your desk frame components, tabletop, remote, and grommet. If you have added extra accessories to your order, these will come in separate boxes.

Desk Packaging & Assembly
Select your chosen desk from the tabs below, and learn about the packaging information, plus comprehensive, step-by-step assembly instructions!

Mini Ryzer
Packaging Information
Learn more

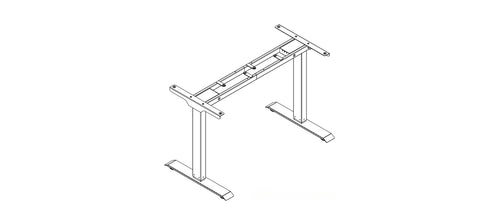
Prime Ryzer
Packaging Information
Learn more

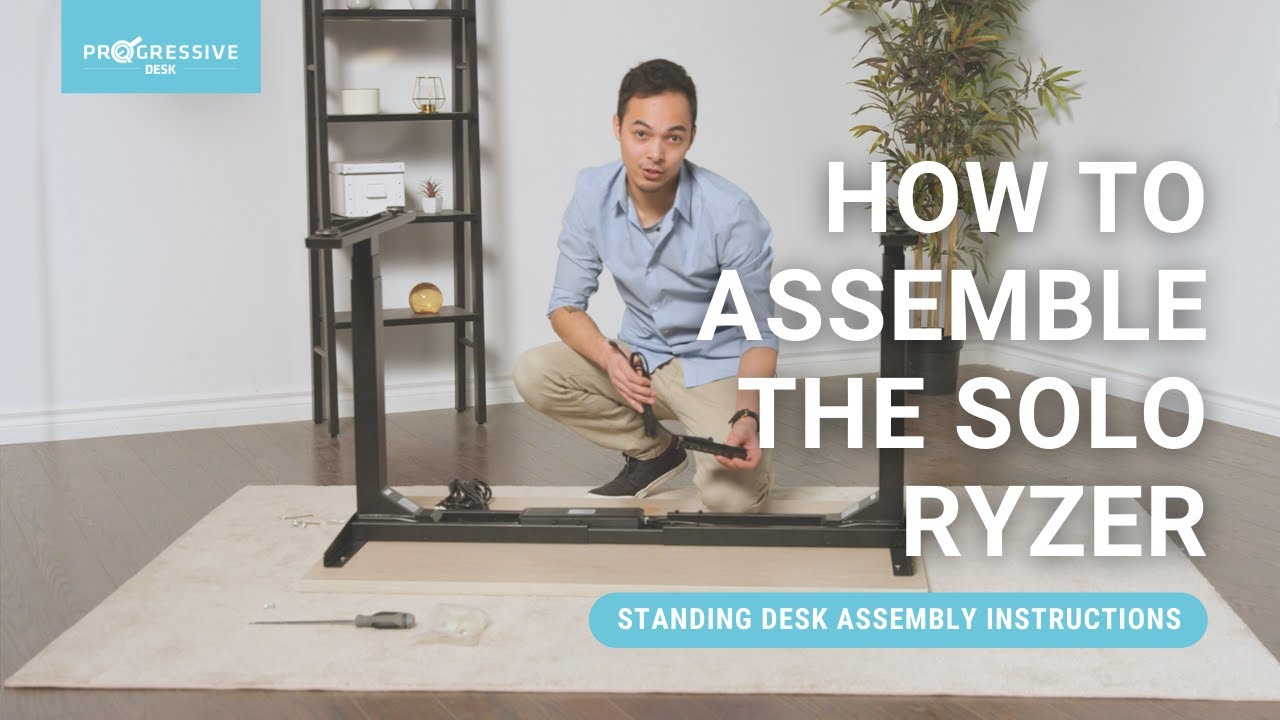
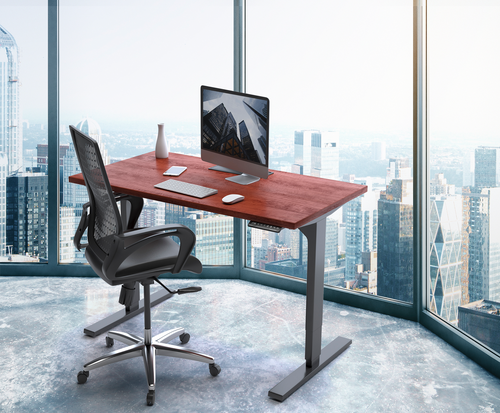
Solo Ryzer
Packaging Information
Learn more

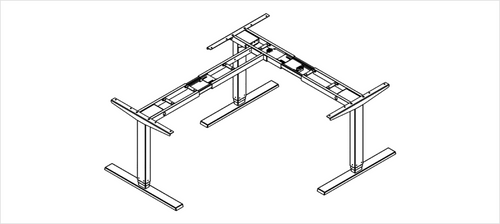
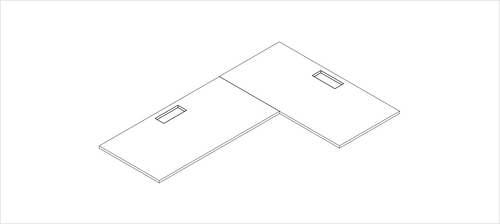
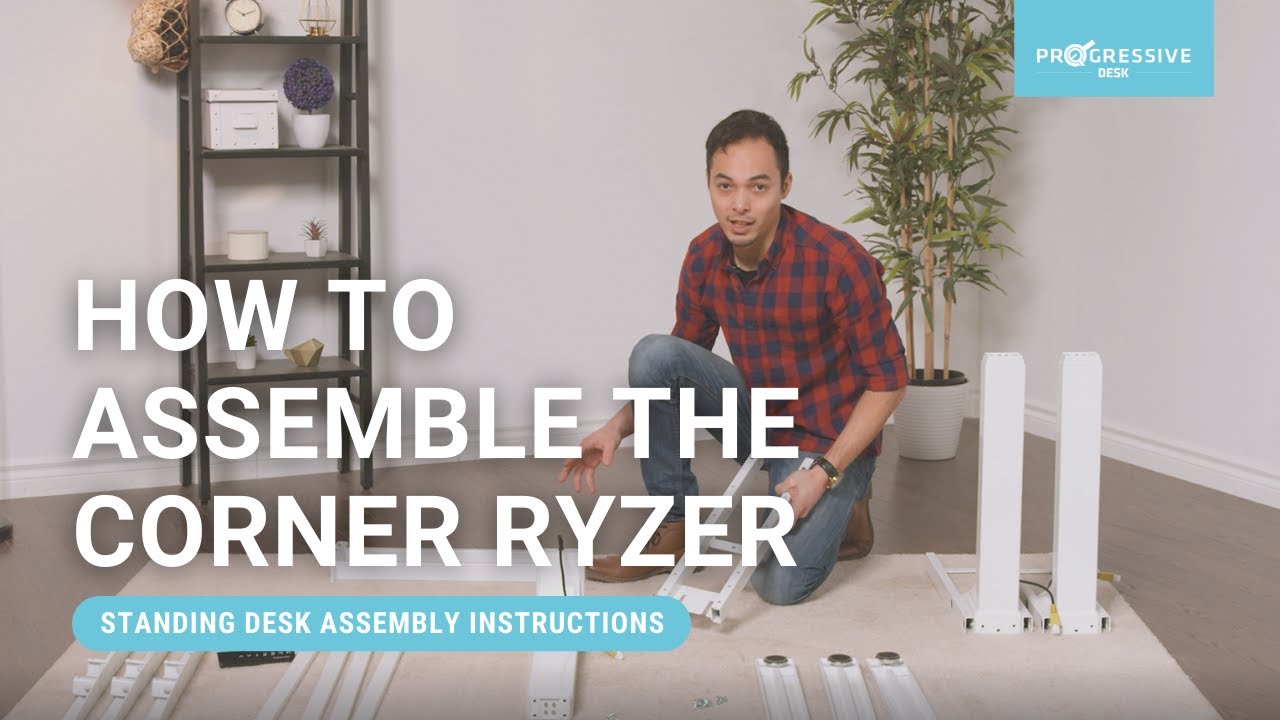
Corner Ryzer
Packaging Information
Learn more
Packaging Information
Package Quantity


Package Size
The exact dimensions of our packaging are outlined below. Our packaging sizes differ based on the size of tabletop you have purchased.
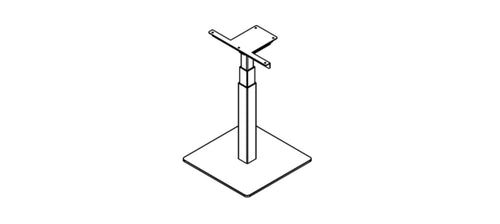
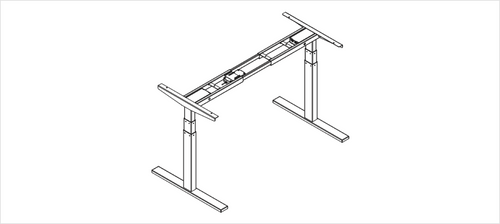
Frame
| Length | Width | Height | Weight |
|---|---|---|---|
| 28” | 16” | 5.5” | 71.88 lbs |
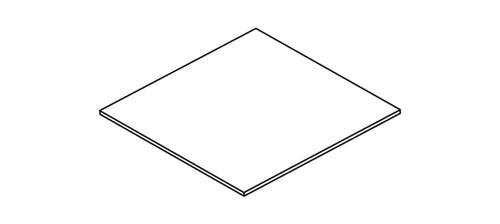
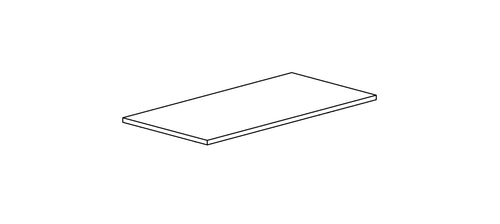
Tabletop
| Size | Length | Width | Height | Weight |
|---|---|---|---|---|
| 30” x 30” | 34.85” | 34.85” | 2.75” | 29.76 lbs |
Assembly Guide
We want to make your standing desk assembly experience seamless and hassle-free! Therefore, we have created a guide that you can follow throughout this process: our step-by-step assembly guide.

Video Assembly Guide
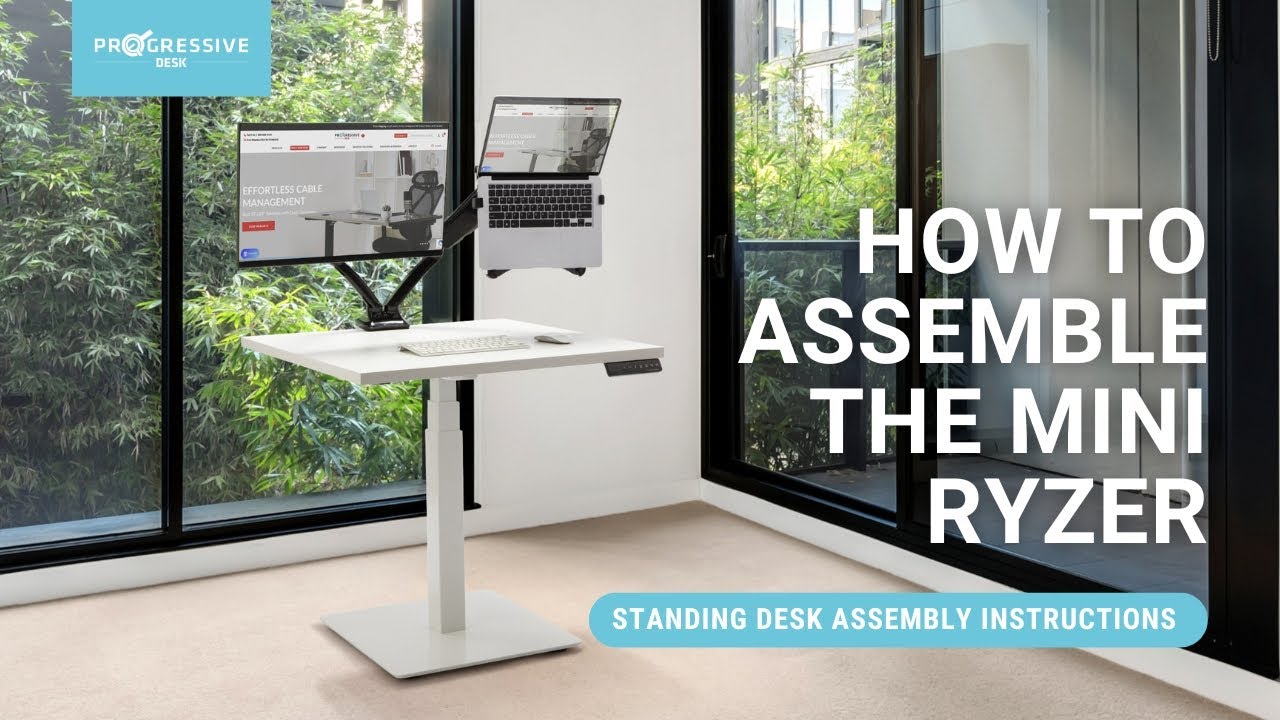
Watch us Assemble in 20-40 minutes
Manual Assembly Guide
You can find the full product manual here that breaks down each part involved in this assembly, alongside visuals for assembly and fault treatments.

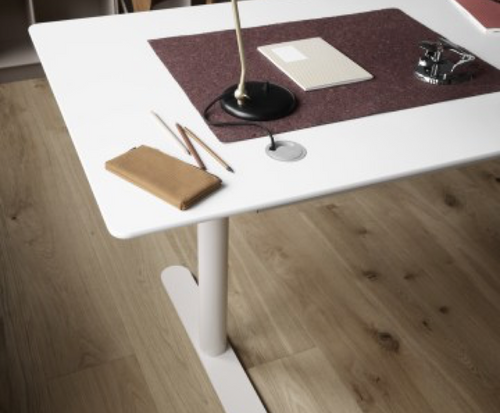
You are now ready to sit and stand at your very own Progressive Desk!

Packaging Information
Package Quantity
Two boxes will be included in your delivery containing your desk frame components, tabletop, remote, and grommet. If you have added extra accessories to your order, these will come in separate boxes.
Package Size
The exact dimensions of our packaging are outlined below.
Our packaging sizes differ based on the size of tabletop you have purchased.
Frame
| Length | Width | Height | Weight |
|---|---|---|---|
| 33.27” | 13.58” | 5.91” | 51.58 lbs |
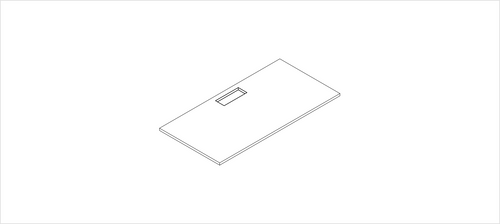
Tabletop
| Size | No. of Tabletops | Length | Width | Height | Weight |
|---|---|---|---|---|---|
| 42" x 24" | 1 | 46.5" | 28.5" | 2.75" | 33.07 lbs |
| 48" x 30" | 1 | 52.0" | 34.5" | 2.75" | 44.5 lbs |
| 55" x 28" | 1 | 57.88" | 30.55" | 2.75" | 52.91 lbs |
| 60" x 30" | 1 | 64.25" | 34.5" | 2.75" | 56.0 lbs |
| Bamboo Tabletops | |||||
|---|---|---|---|---|---|
| Size | No. of Tabletops | Length | Width | Height | Weight |
| 48" x 30" | 1 | 51" | 33.25" | 3" | 43 lbs |
| 55" x 28" | 1 | 57.88" | 30.55" | 2.75" | 52.91 lbs |
| 60" x 30" | 1 | 63.5" | 33.25" | 3.0" | 53.5 lbs |
Assembly Guide
We want to make your standing desk assembly experience seamless and hassle-free! Therefore, we have created two guides that you can follow throughout this process: our assembly video and, our step-by-step assembly guide.
Manual Assembly Guide
You can find the full product manual here that breaks down each part involved in this assembly, alongside visuals for assembly and fault treatments.
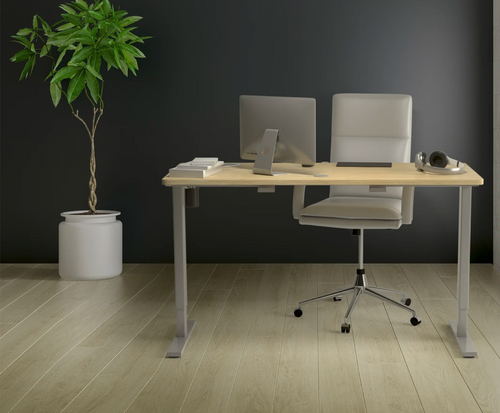
You are now ready to sit and stand at your very own Progressive Desk!

Packaging Information
Package Quantity
Two boxes will be included in your delivery containing your desk frame components, tabletop, remote, and grommet. If you have added extra accessories to your order, these will come in separate boxes.
Package Size
The exact dimensions of our packaging are outlined below. Our packaging sizes differ based on the size of tabletop you have purchased.
Frame
| Length | Width | Height | Weight |
|---|---|---|---|
| 41” | 10.5” | 9.25” | 65 lbs |
Tabletop
| Size | No. of Tabletops | Length | Width | Height | Weight |
|---|---|---|---|---|---|
| 48" x 30" | 1 | 52.0" | 34.5" | 2.75" | 44.5 lbs |
| 55" x 28" | 1 | 57.88" | 30.55" | 2.75" | 52.91 lbs |
| 60" x 30" | 1 | 64.25" | 34.5" | 2.75" | 56.0 lbs |
| 72" x 30" | 1 | 76.5" | 34.5" | 2.75" | 66.14 lbs |
| Bamboo Tabletops | |||||
|---|---|---|---|---|---|
| Size | No. of Tabletops | Length | Width | Height | Weight |
| 48" x 30" | 1 | 51.0" | 33.25" | 3.0"" | 43.0 lbs |
| 55" x 28" | 1 | 57.88" | 30.55" | 2.75" | 52.91 lbs |
| 60" x 30" | 1 | 63.5" | 33.25" | 3.0" | 53.5 lbs |
| 72" x 30" | 1 | 75.25" | 33.25" | 3.0" | 58.5 lbs |
| Solid Wood | |||||
|---|---|---|---|---|---|
| Size | No. of Tabletops | Length | Width | Height | Weight |
| 60" x 30" | 1 | 64.21" | 34.21" | 2.44" | 50.71 lbs |
| 72" x 30" | 1 | 76.22" | 34.21" | 2.44" | 66.14 lbs |
| Epoxy | |||||
|---|---|---|---|---|---|
| Size | No. of Tabletops | Length | Width | Height | Weight |
| 60" x 30" | 1 | 64.21" | 34.21" | 2.64" | 71.65 lbs |
| 72" x 30" | 1 | 76.22" | 34.21" | 2.64" | 81.57 lbs |
Assembly Guide
We want to make your standing desk assembly experience seamless and hassle-free! Therefore, we have created two guides that you can follow throughout this process: our assembly video and, our step-by-step assembly guide.
Video Assembly Guide
Watch us Assemble in 20-40 minutes
Manual Assembly Guide
You can find the full product manual here that breaks down each part involved in this assembly, alongside visuals for assembly and fault treatments.
You are now ready to sit and stand at your very own Progressive Desk!

Packaging Information
Package Quantity
If you opt for the one-piece tabletop, two boxes will be included in your delivery. If you opt for the two-tabletop configuration, three boxes will be included in your delivery. These boxes will contain your desk frame components, tabletops (one box each), remote, and grommet. If you have added extra accessories to your order, these will come in separate boxes.
Package Size
The exact dimensions of our packaging are outlined below. Our packaging sizes differ based on the size of tabletop you have purchased.
Frame
| Length | Width | Height | Weight |
|---|---|---|---|
| 42” | 16” | 9" | 97.3 lbs |
Tabletop
| Size | No. of Tabletops | Tabletop | Length | Width | Height | Weight |
|---|---|---|---|---|---|---|
| 59" x 59" | 1 | 64.8" | 63.5" | 2.5" | 69.4 lbs | |
| 60” x 48” | 2 | Tabletop 1 | 52.0" | 34.5" | 2.75" | 44.5 lbs |
| Tabletop 2 | 34.85" | 34.85" | 2.75" | 29.76 lbs | ||
| 72” x 48” | 2 | Tabletop 1 | 52.0" | 34.5" | 2.75" | 44.5 lbs |
| Tabletop 2 | 46.5" | 28.5" | 2.75" | 33.07 lbs | ||
| 70” x 55” | 2 | Tabletop 1 | 57.88" | 30.55" | 2.75" | 52.91 lbs |
| Tabletop 2 | 46.5" | 28.5" | 2.75" | 33.07 lbs | ||
| 60” x 60” | 2 | Tabletop 1 | 64.25" | 34.5" | 2.75" | 56.0 lbs |
| Tabletop 2 | 34.85" | 34.85" | 2.75" | 29.76 lbs | ||
| 72” x 60” | 2 | Tabletop 1 | 64.25" | 34.5" | 2.75" | 56.0 lbs |
| Tabletop 2 | 46.5" | 28.5" | 2.75" | 33.07 lbs | ||
| 78" x 48" | 2 | Tabletop 1 | 52" | 34.5" | 2.75" | 44.5 lbs |
| Tabletop 2 | 52" | 34.5" | 2.75" | 44.5 lbs | ||
| 85" x 48" | 2 | Tabletop 1 | 52.0" | 34.5" | 2.75" | 44.5 lbs |
| Tabletop 2 | 57.88" | 30.55" | 2.75" | 52.91 lbs | ||
| 75" x 55" | 2 | Tabletop 1 | 57.88" | 30.55" | 2.75" | 52.91 lbs |
| Tabletop 2 | 52.0" | 34.5" | 2.75" | 44.5 lbs | ||
| 60" x 72" | 2 | Tabletop 1 | 76.5" | 34.5" | 2.75" | 66.14 lbs |
| Tabletop 2 | 34.85" | 34.85" | 2.75" | 29.76 lbs | ||
| 83" x 55" | 2 | Tabletop 1 | 57.88" | 30.55" | 2.75" | 52.91 lbs |
| Tabletop 2 | 57.88" | 30.55" | 2.75" | 52.91 lbs | ||
| 72" x 72" | 2 | Tabletop 1 | 76.5" | 34.5" | 2.75" | 66.14 lbs |
| Tabletop 2 | 46.5" | 28.5" | 2.75" | 33.07 lbs | ||
| 90” x 48” | 2 | Tabletop 1 | 52.0" | 34.5" | 2.75" | 44.5 lbs |
| Tabletop 2 | 64.25" | 34.5" | 2.75" | 56.0 lbs | ||
| 78" x 60" | 2 | Tabletop 1 | 64.25" | 34.5" | 2.75" | 56.0 lbs |
| Tabletop 2 | 52.0" | 34.5" | 2.75" | 44.5 lbs | ||
| 85” x 60” | 2 | Tabletop 1 | 64.25" | 34.5" | 2.75" | 56.0 lbs |
| Tabletop 2 | 57.88" | 30.55" | 2.75" | 52.91 lbs | ||
| 88” x 55” | 2 | Tabletop 1 | 57.88" | 30.55" | 2.75" | 52.91 lbs |
| Tabletop 2 | 64.25" | 34.5" | 2.75" | 56.0 lbs | ||
| 90” x 60” | 2 | Tabletop 1 | 64.25" | 34.5" | 2.75" | 56.0 lbs |
| Tabletop 2 | 64.25" | 34.5" | 2.75" | 56.0 lbs | ||
| 78” x 72” | 2 | Tabletop 1 | 76.5" | 34.5" | 2.75" | 66.14 lbs |
| Tabletop 2 | 52.0" | 34.5" | 2.75" | 44.5 lbs | ||
| 85” x 72” | 2 | Tabletop 1 | 76.5" | 34.5" | 2.75" | 66.14 lbs |
| Tabletop 2 | 57.88" | 30.55" | 2.75" | 52.91 lbs | ||
| 90” x 72” | 2 | Tabletop 1 | 76.5" | 34.5" | 2.75" | 66.14 lbs |
| Tabletop 2 | 64.25" | 34.5" | 2.75" | 56.0 lbs |
Assembly Guide
We want to make your standing desk assembly experience seamless and hassle-free! Therefore, we have created two guides that you can follow throughout this process: our assembly video and, our step-by-step assembly guide.
Video Assembly Guide
Watch us Assemble in 20-40 minutes
Manual Assembly Guide
You can find the full product manual here that breaks down each part involved in this assembly, alongside visuals for assembly and fault treatments.
You are now ready to sit and stand at your very own Progressive Desk!